Wahoo~my Hungarian Wax peppers are ready to be canned!! It’s the moment my son has been waiting for. He can’t wait to get started harvesting–well, in between entertaining the neighbor girl peering at him through the chain link fence, that is. In between introducing him to all 100 of her imaginary brothers and sisters, her fleet of horses, her real life dogs…
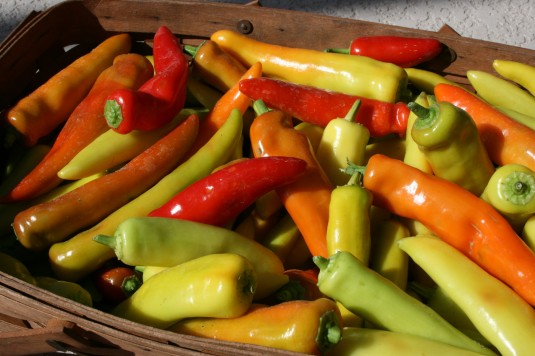
Well, you get the picture. The boy was distracted, but still managed to snip this bounty of peppers.
Beautiful. From red to yellow (and a few green we’ll chalk up to the distraction factor), my son has given me quite the beginning for a canning fiesta. Mind you, he didn’t lug this basket up to the house himself. I did. He was busy impressing the young girl with his digging abilities, creating a hole deep enough to step in clear up to his thighs! Needless to say, she was thrilled.
I looked down my nose at him. “You will re-fill that before you come up to the house, yes?”
“Sure,” he said. (To his credit, he did.)
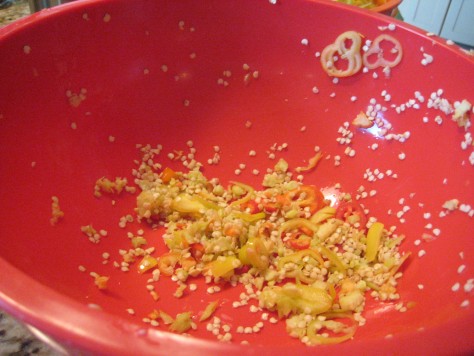
Meanwhile, I was engaging in an adventure of my own. Chopping peppers. This time I thought I’d be smart, and utilize my Cuisinart for the task. GREAT idea, save for the mix of seeds left in the bowl. No problem. I found an easy way to separate them.
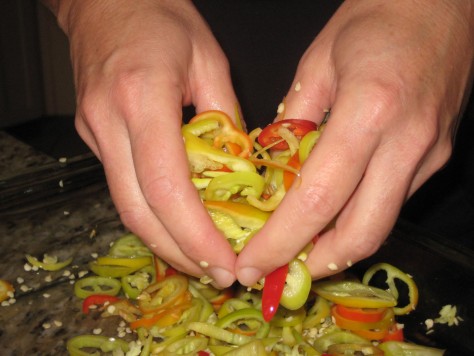
Gasp. I know many of you are cringing at this photo and rightly so. What can I say? Don’t try this at home?
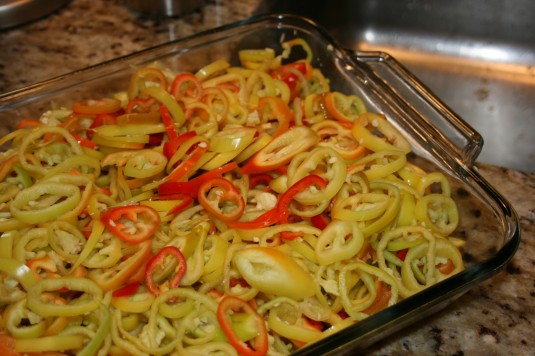
It was a mind bleep. A weak moment of “action” before “thought.” It happens. But please, take my word on this–hot wax peppers are just that–hot. The oils on my hands lingered through dinner, bedtime and pulsed early the next morning. Use gloves for this step. Gather and lift, gather and lift, and the seeds will fall to the bottom leaving you near seedless slices.
All that said, it does work to separate the seeds from the rings. 🙂 Another idea is to place your peppers and seeds in a colander and rinse the seeds through.
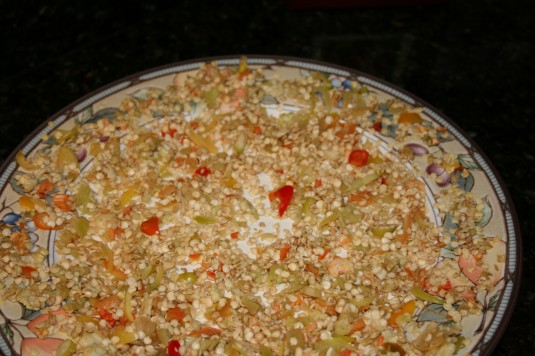
Next up, the drying process. Set the seeds on a plate and allow them to dry. Once dry, we’ll remove the chunks of pulp and pack them away for spring planting.
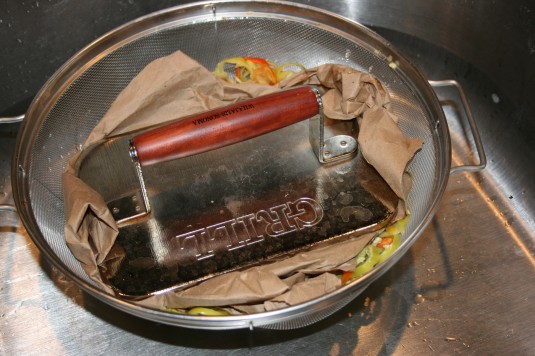
The peppers must be dried as well. First we liberally salt them, rinse them, then place them in a colander and set something heavy on top to press the remaining liquid from the peppers.
We leave them overnight and begin the canning process the next day. Which is easy. Provided you know how to boil water.
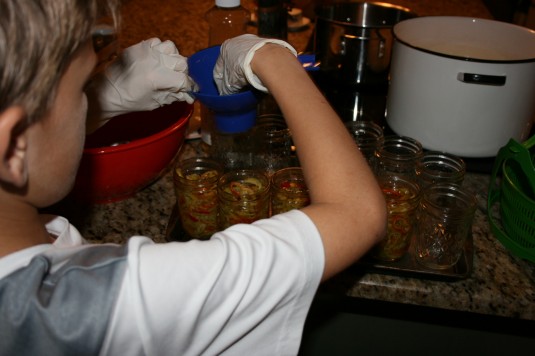
For those still with me, your first step is to fill your washed and dried jars. Pack them well and if you like, add a little more oil to the mix. Note the gloves. Smart boy. 🙂
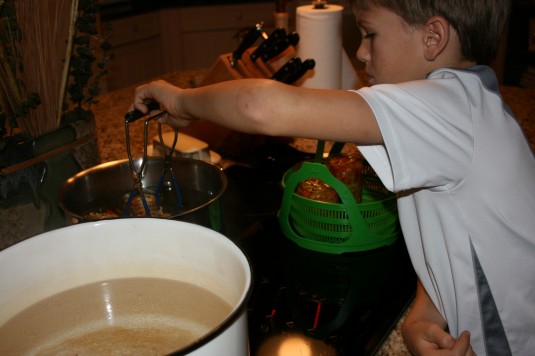
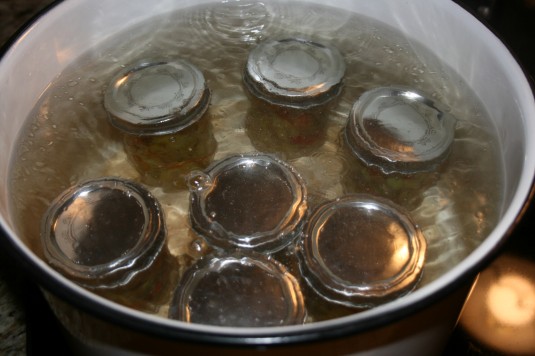
Next, you’ll want to pre-warm your jars in a separate pot. Doing so prevents possible breakage once they’re loaded with peppers and submerged for the duration. It DOES happen, so please, pre-warm. Oil and water don’t mix and make for a huge (preventable) mess. You can manage this step with filled are pre-filled jars, your choice. I’ve done both and both work (just keep the water out of the interior as you warm them).
My son loves this part. Okay, he loves ALL parts of the canning process, but especially this one, because there are tools involved. He plucks up the jars and sets them down into the water.
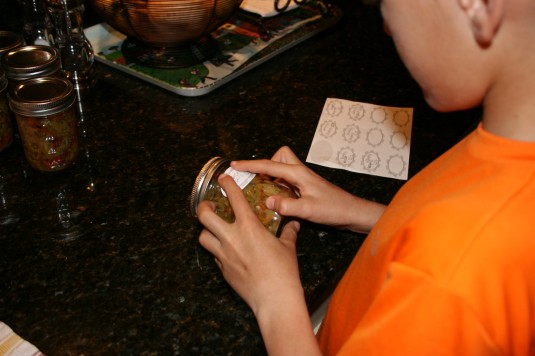
Once warmed, we place the lids on the jars and boil. While they’re boiling, he fills out the labels.
“Venetta peppers” and the date. People sometimes get a little cagey when offered home-canned peppers.
“How old are these?”
“I just canned them.”
Sure you did.
Yes, you get the picture. Folks are health conscious. Once jars are cooled and dry–usually the next day–he presses his labels into place. And there you have it. Canning peppers is so easy, a kid can do it!!
For full details on canning peppers, check my recipe, Hungarian Wax Peppers for complete step-by-step instructions–and ignore the fact that those peppers were mostly green. That was BEFORE I knew the peppers were supposed to turn yellow, orange and red.
