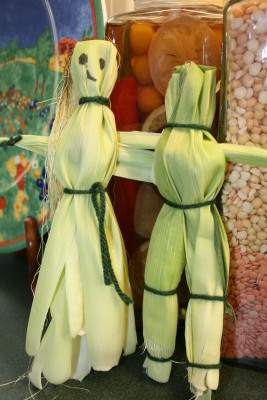
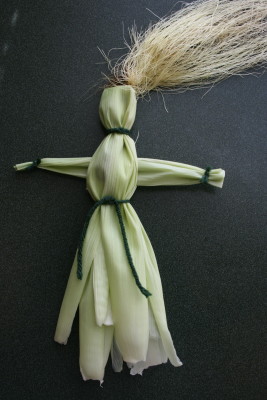
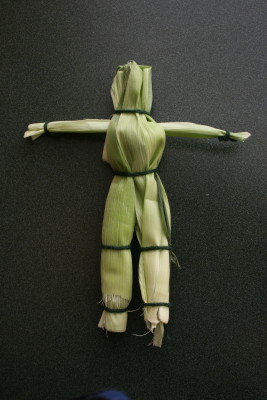
Corn husk dolls craft for kids is a great way to connect kids with nature and the plants they grow.
Like the Indians have done for hundreds of years, you too, can create your own doll with the husks peeled from your corn. Why not? You grew it–use it! With these instructions, you can make boys or girls.
What you’ll need:
6 – 8 green corn husks (if already dried, soak for 10 minutes before using)
scissors
twine or string
corn silk/yarn (optional)
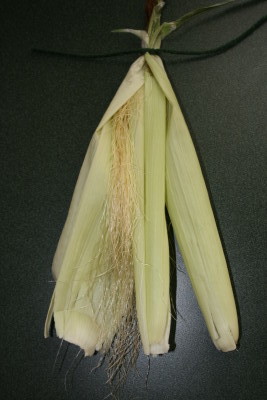
In this example, we used yarn for our ties instead of twine or string. (Just because you might like the color better!) Either one will work. To begin, separate your husks into individual pieces and lay them out on your work surface. Gather four or five together and tie ends as shown.
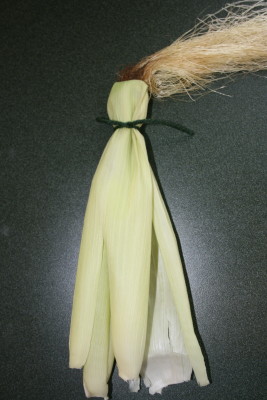
Optional hair: If you want your doll to have hair, now is the time to include it. Use the soft corn silk from your cob, (yarn works too!) and place it inside the bundle of husks. Tie ends tightly together with twine (the hair will be inside). Hold tied end with one hand and fold husks down over the knot, forming a small ball or “head” (the hair should be standing out now). Tie at neck to keep shape secure.
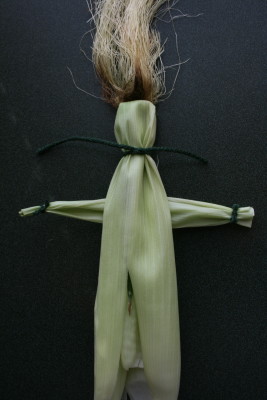
Take another husk and roll lengthwise into a tight tube, and place a tie around each end of “arms” to form hands. Tuck “arms” in between corn husks and center.
Then, using another string, tie husks together beneath arms to form waist.
Stop here for a girl doll, though you may wish to tie your waistband into a bow, instead! For boys, separate bottom husks into two parts for legs. Tie at knee and ankle.
You can add a belt or thick waistband by cutting another husk and wrapping it around waist. Secure with small dab of glue.
For added fun, use extra husks to make aprons, added skirts — you can even use extra husks and make wings! Just fold each husk over, forming a loop, then attach to the doll’s waist with yarn or twine. Add eyes, polka dots–decorate however you choose!
Crafts for kids are great fun!
