Pressed-leaf bookmark craft is a great way to connect them to nature and the plants they grow.
Whether it’s fall leaves floating in a crisp breeze or the feathery leaves from your gorgeous carrots, you can use those leaves to make a bookmark.
What you’ll need:
leaves of your choice
scissors
firm, acid-free cardstock (or laminate paper)
craft glue (Elmer’s school glue works well)
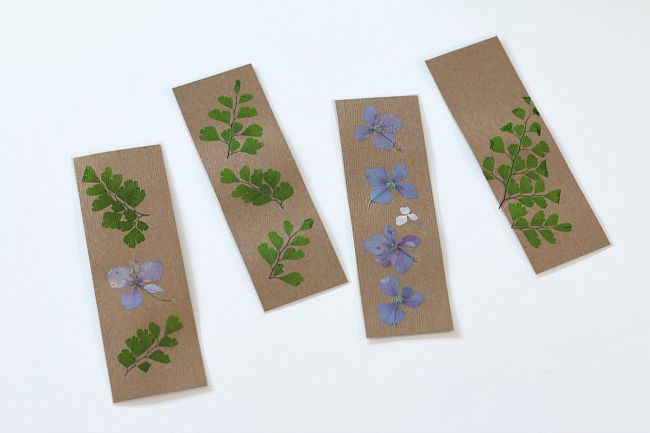
Press your leaves under the weight of a heavy book, dictionary or phonebook works well, and leave overnight. Once your leaves are pressed flat, cut your cardstock into bookmark-sized pieces, say 2 inches by 7 inches.
Gently arrange your leaves as you’d like onto the bookmark. When you are satisfied with their position, remove one leaf, dot the underside with glue, then replace it back into position on the paper bookmark. Repeat this step one-by-one until you have set each of your leaves in place with glue.
Set your bookmark aside and allow to dry, untouched. For best results, cover bookmark with wax paper and press with the heavy book you used to press your leaves. Once it’s ready, slip it between the pages of your favorite book!
Optional method: You can also use laminate paper for a see-through bookmark. Cut two bookmark-sized pieces and follow steps for gluing leaves onto the bookmark. With laminate paper, you can add a cover by dotting your first bookmark with glue, then pressing the second piece of laminate over the first. Trim edges so your bookmark will appear even.
Pressed-leaf bookmark craft is always great fun in the garden!